Every center is unique in how they design their rooms, number of children in each room, and number of staff in each classroom. This feature enables Administrators to create and track room assignment inside of the Registry.
1. Log into the Registry and click on Program Administration.
2. Click on Build/Manage Rooms.
3. In this area, you will see rooms you’ve already created, and you will have the ability to add a room.

4. If you wish to view or edit room details, click on Edit.


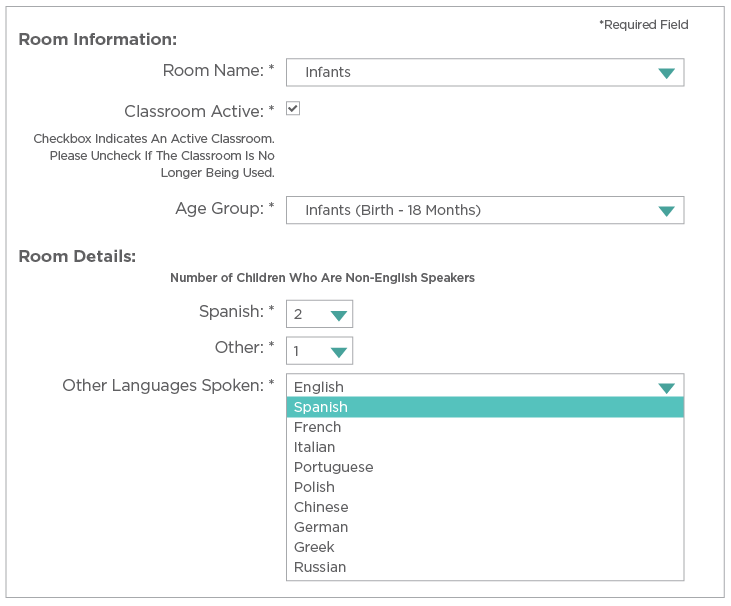
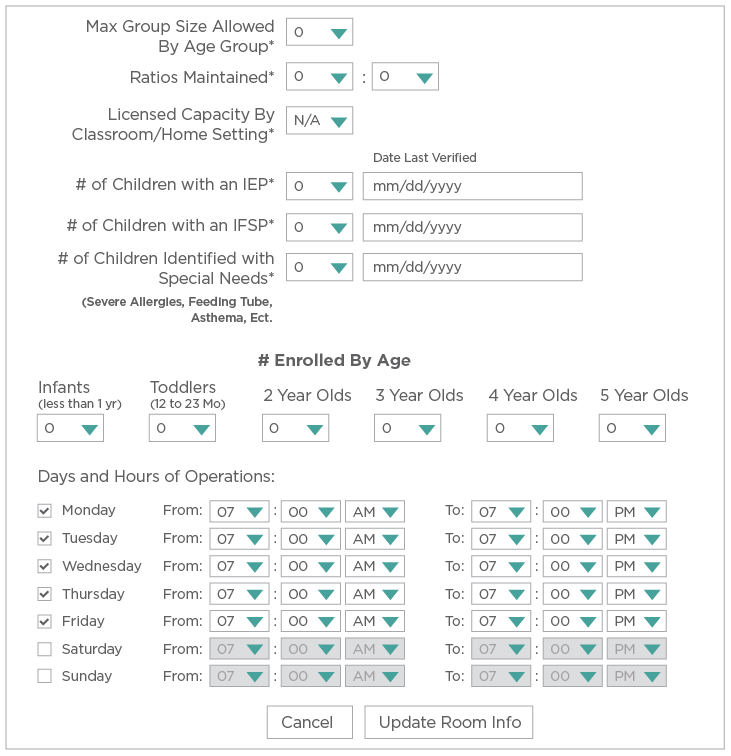
5. In this area, you can change the room name, edit the age group, edit room details and list days and hours of operation. If you make any changes, click on Update Room Info.
6. To Delete a room that you’ve entered, click on Delete.
7. To add or manage staff associated with a given room, click on Add/Manage Staff.

8. In the area shown above, you can delete staff, edit the staff position and Add Staff.
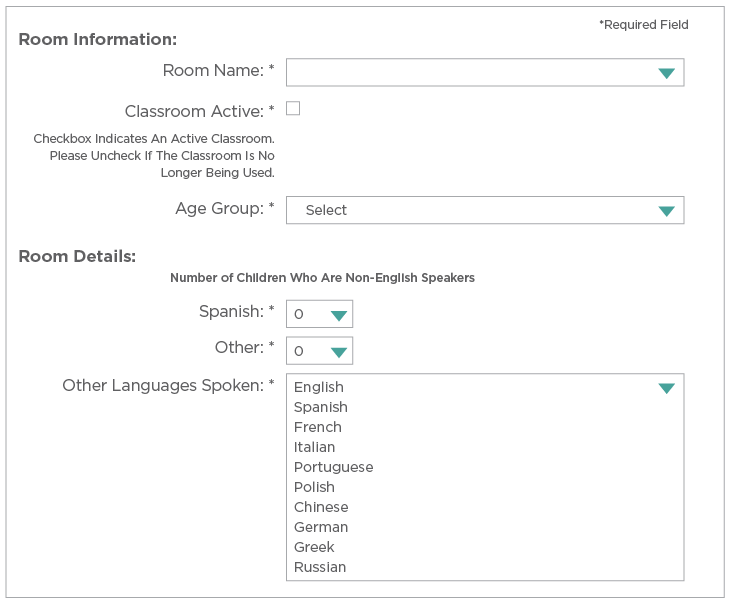
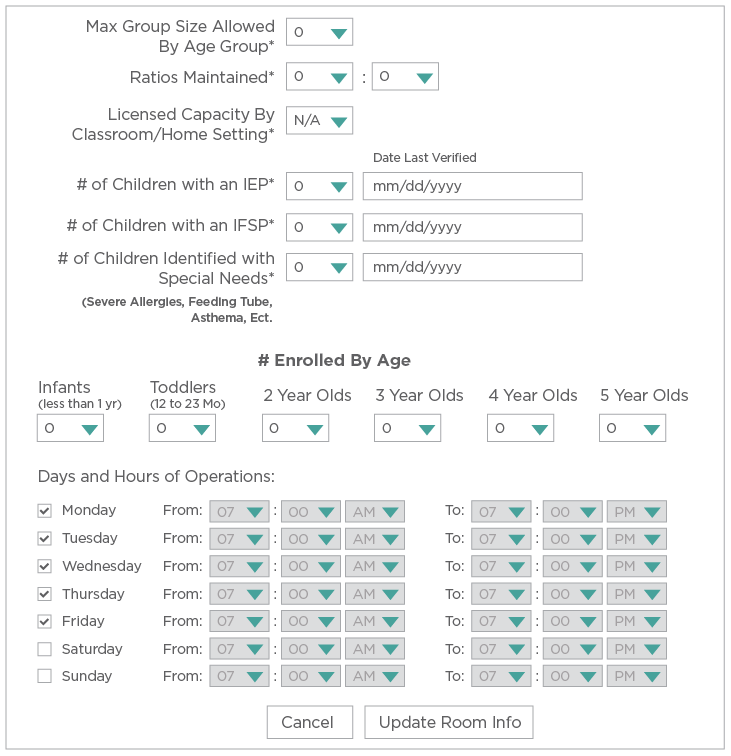
9. If you with to add a new room, click on Add Room.


10. Fill on all required and optional information and click on Update Room Info.
