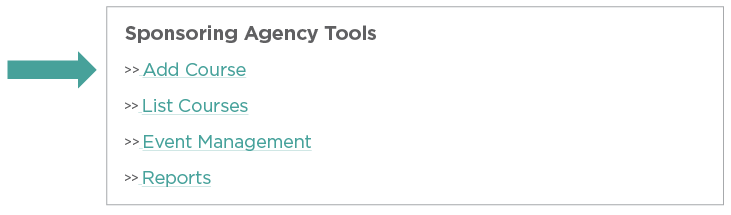
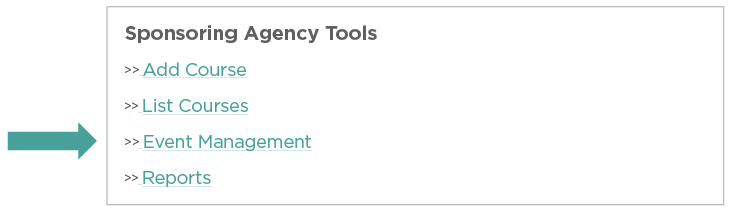
Sponsoring Agencies have the ability to input their professional development opportunities into the Arizona Early Childhood Workforce Registry so that users may view and enroll in training events. Sponsoring Agencies have access to functions, such as Add Course, List Courses, Event Management, and Reports, through the Sponsoring Agency Tools Menu.
Add Course
The Registry system is set up similar to a college system where one can enter a course, where the information does not change, and then enter instances (Events), where the information can change, such as date, time, location and instructors.
The Add Course menu takes you to an input screen where you can enter the non-changing details about the course. Event details, such as date, time and location are entered.
Click on Add Course.
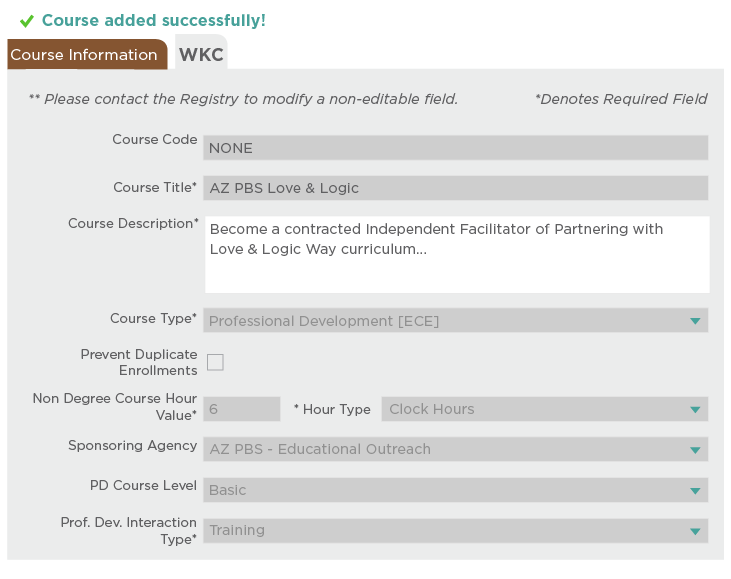
Add in a Course Code if you wish. This is an optional field.
Input your Course Title and Course Description. You have 1,500 characters for the course description. You may copy from a word processing program and paste into the Course Description box.
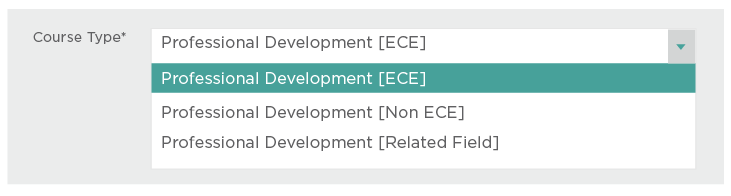
Course Type can be Professional Development [ECE], Professional Development [Non ECE] or Professional Development [Related Field].
If you do not wish for users to repeat your course after attending, check Prevent Duplicate Enrollments.
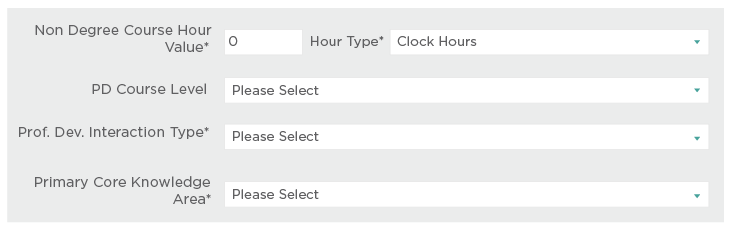
Fill out Course Hour Value, Hour Type, Professional Development Course Level, Professional Development Interaction Type and choose a Primary Core Knowledge Area from the Workforce Knowledge and Competencies. (To learn more about the Workforce Knowledge and Competencies, please click on Resource Documents under My Tools & Settings in the Registry.)
Click the Save button.
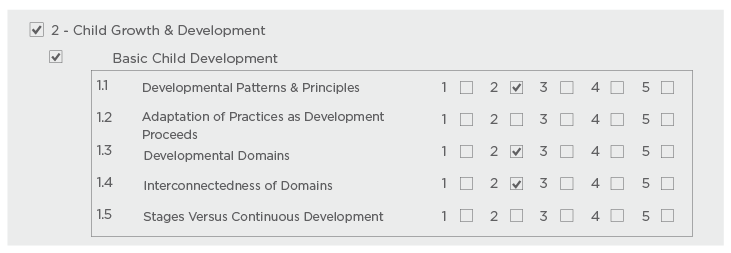
Under the Workforce Knowledge and Competencies (WKC) Tab, you can align your training more deeply to the workforce competencies. You may have to remove your checkbox and then re-input your checkbox.
You are now able to align to the main Core Knowledge Area, Core Knowledge Component and the Level of the Core Knowledge Competencies. 1 is very basic, and 5 would be at a college course level.
When all alignment is complete, click the Save button.
You may now leave this area by clicking on the Sponsoring Agency Tools.
If you need more information on the Workforce Knowledge and Competencies, please view the document by logging into the Registry at www.azregistry.org. Click on Resource Documents under My Tools & Settings.
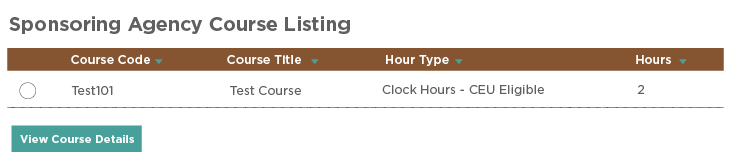
List Courses
List Courses takes the sponsor to a screen where they can view all the courses in the database associated with their organization.
Clicking an entry allows the agency to view the course details and edit the Course Code, Course Title, Course Description, edit the Primary Core Knowledge Area, and align the training to the Workshop Knowledge and Competencies by clicking on the WKC tab.
Event Management – Add Event
Log into the Registry.
Click on Event Management under Sponsoring Agency Tools.
After clicking on Event Management, a list of all previously entered events will be visible. You may sort by event date, course, or instructor. We will re-visit functions in this area later in this tutorial.
To add a new event, click on Add Event.
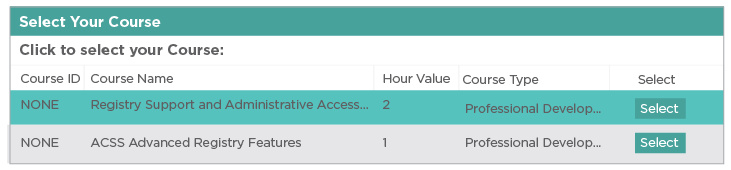
You must now search for the course that was previously created in the Add Course function. Type in a word or two from the course title, and click on Search.
Note: When selecting a Course Name, you will be searching for the courses that have been input into the system by the Sponsoring Agency, using Add Course. Courses must be set up prior to Event Creation.
After searching for the course, select the course that is needed.
After Select is chosen, all course details will be imported into the Event creation window.
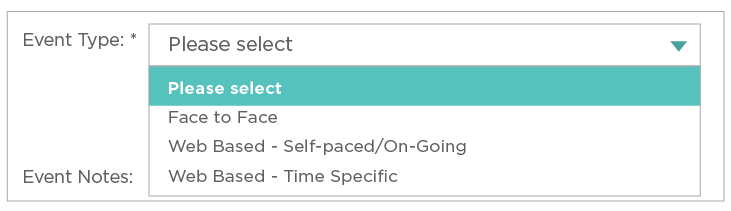
Select the Event Type.
After choosing Event Type, fill out the details of the event, such as time, location, or URL.
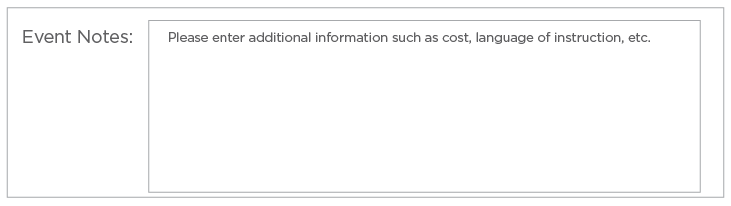
Fill in any special notes you have pertaining to the event. You have 1500 characters to add any information you feel necessary. This text box will take HTML, if you utilize HTML Code.
Publish Event if you wish the event to immediately show in the Registry’s Find Training Events. If you don’t publish now, you can publish later.
Fill in the field for Event Capacity.
If there is a charge for the event, fill in the field for Price Per Person. Please note that the Registry does not have a function for collecting the fees associated with an event. You may need to use the Event Notes field to specifically state how costs will be collected.
If you have a Business PayPal Account, you can add in your PayPal Button Code.
Select a Funding Source.
If the event is a conference, input the Conference Name.
Click Submit.
Event Management – Editing Created Events & Roster Management
Click on Event Management under Sponsoring Agency Tools.
After clicking on Event Management, a list of all previously entered events will be visible. You may sort by Event Date, Course, or Instructor.
Your event page will show the following categories:
Your Event will be listed with the following view:
Under Published, you will see a Yes or a No. If you wish to change the designation, simply click on the word. It will change for you.
Under View, there is an Icon of a File. If you click on the File Icon, you will see all the details of your event, and if the event is in the future, you can even Edit the Event.
In the Delete column, you will see a small red X. If there are not any users on the roster, you can delete the event.
In the Roster Column, you will see an icon of a small green person.
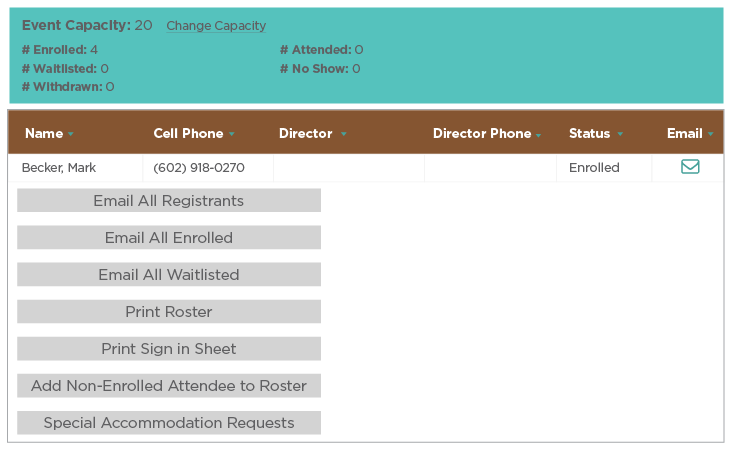
Click on the Roster Icon. On this screen, you can change capacity, change status of an enrolled user from Enrolled to Withdrawn, Waitlisted, Attended, or No Show (Attended and No Show: not until the day of the event), Email Registrants, Print Roster, Print a Sign In Sheet, Add Non-Enrolled Attendee to Roster and view any Special Accommodation Requests.
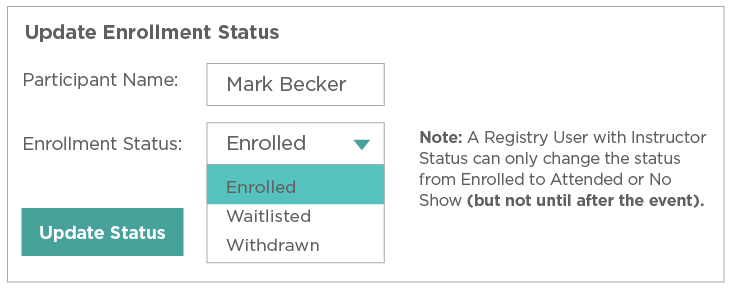
To change Status of an enrollee, simply click on the status.
Note: On the day of the event, enrollment status will include Attended and No Show.
Change Status and click on Update Status. (Attended and No Show will not be an option until the day of the event.)
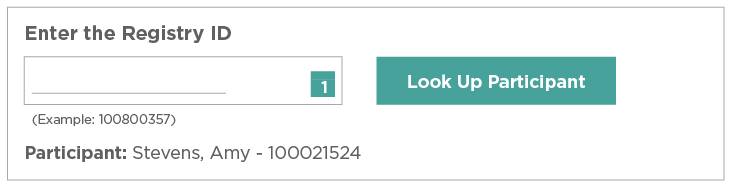
If you need to manually add a Registry User to the Roster, you can do this if you know their 9 digit Registry ID. Click on Add Non-Enrolled Attendee to Roster.
Add in the 9 digit Registry ID, and click on Look Up Participant.
If the correct Participant is returned, click on Add to Roster. If prior to the event, the user will be added to the roster with the status of Enrolled. If after the event, the user will be added to the roster with the status of Attended.
You now understand how to add an event and use the roster management function.
The average wait time for processing your college transcripts is 30 Days. For questions regarding your Registry account, please contact info@thearizonaregistry.org.